How to draw a bottle
With a pencil on paper, in 3 Steps: Envelope, Block-in and Contour. Each Step shows what your paper should look like when it's done.
What this drawing teaches: measure proportions: height against width, neck against body.
- 3 Steps
- Easy
- Pencils: 2H, HB
- Light from the upper left
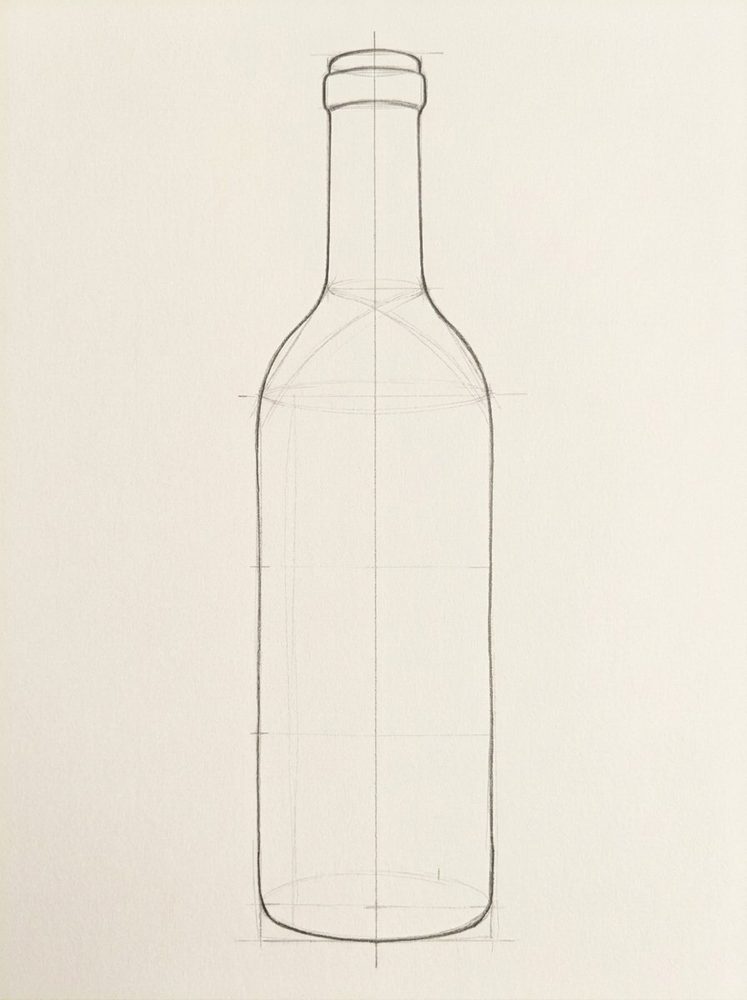
What you need
Pencils 2H, HB, an eraser and any drawing paper. If you only have one ordinary HB pencil, start anyway: press lightly for the early Steps and harder for the darks.
The Steps
Step 1Envelope2H
A few straight lines that box in the whole shape. Get its size and tilt right before any curve.
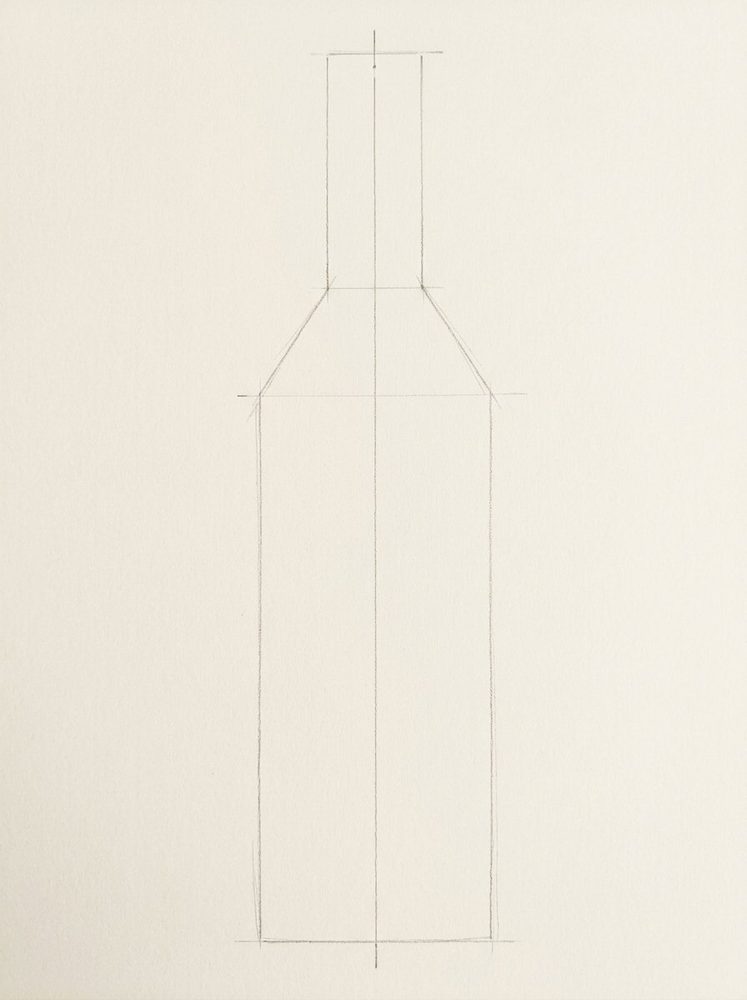
- Start with a vertical centre line; the bottle is the same on both sides of it.
- Measure with your pencil: the bottle is about four body-widths tall.
- Mark the shoulder line: the body takes up the lower 60% of the height.
Technique: Measuring with your pencil
Step 2Block-in2H
Simple shapes inside the envelope, already at their final size and place.
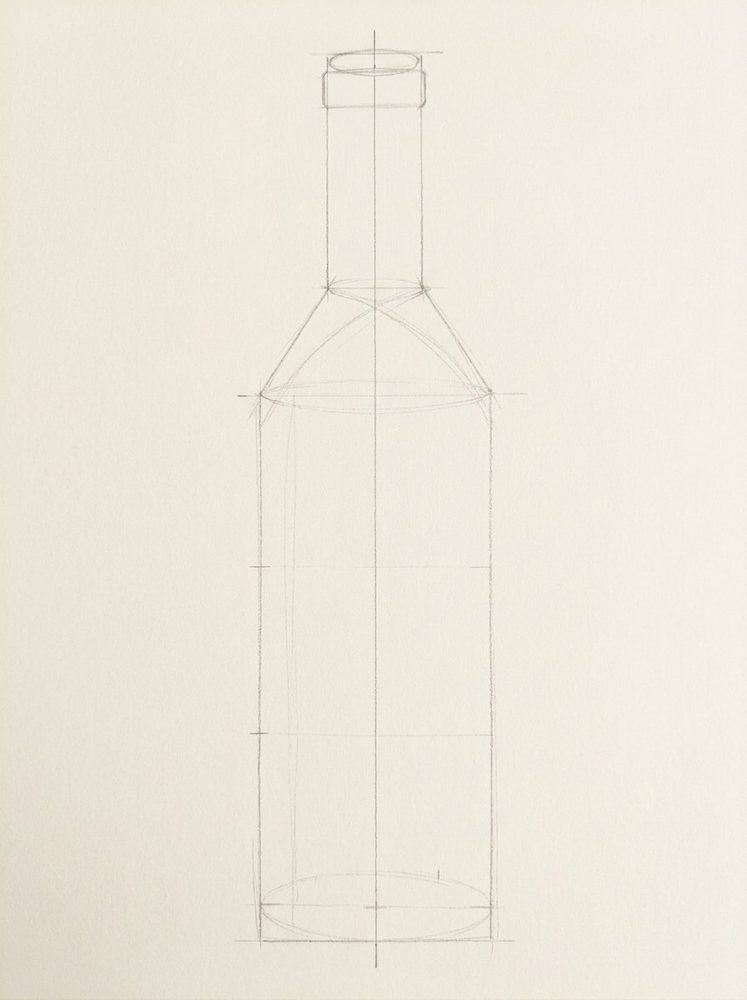
- Split the height into thirds with small ticks, to check your proportions against them.
- The neck is a little less than half as wide as the body.
- Draw flat ellipses at the base, shoulder and lip: they show the bottle is round.
Technique: Drawing ellipses
Step 3ContourHB
One clean outline over the construction lines, which stay faint underneath.
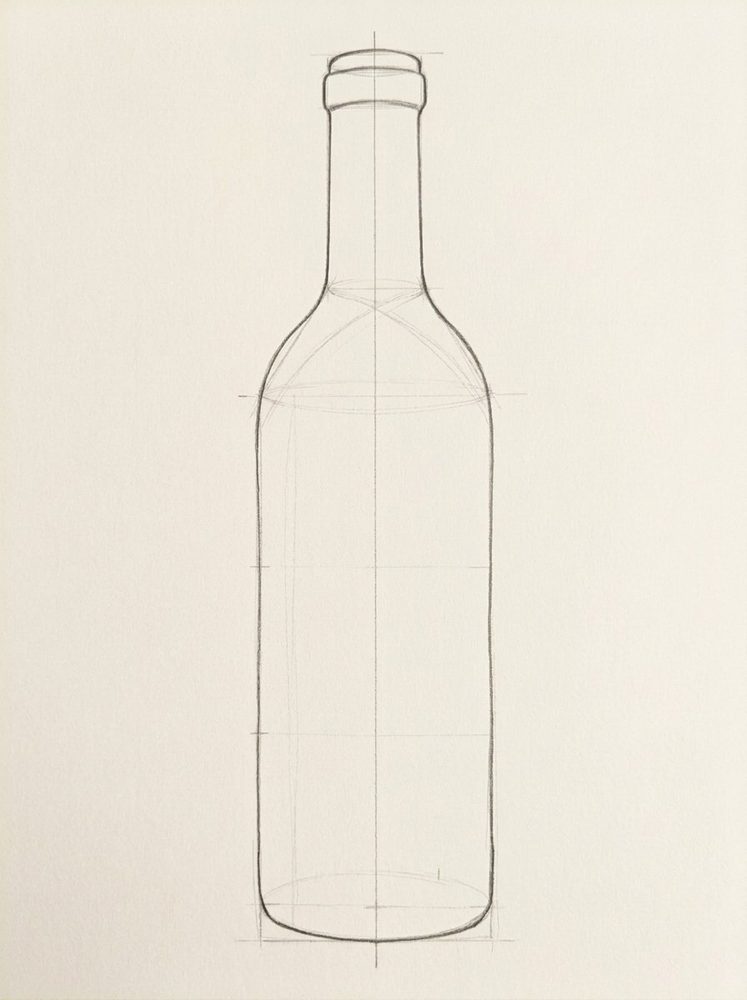
- Switch to HB and round off the corners at the shoulders and the base.
- Draw one side, then the other, checking against the centre line each time.
- Draw each side in one slow, smooth stroke rather than many short ones.
Technique: Pencil grades
Lapis is an iPhone app that sits beside your paper and shows each Step full screen, with tips, a Pencil Grade and an optional Grid. You draw freehand; one tap to the next Step.
This Lesson is free in Lapis.
Get Lapis on the App Store How to draw an old key
 How to draw a leaf
 How to draw an apple