Pencil grades: 2H, HB, 2B and 4B, and when to use each
H pencils are hard and leave a light, thin line; B pencils are soft and leave a dark one; HB is in the middle. Three are enough to start: a 2H for the first light lines, an HB for the outline, and a 2B or 4B for the shadows. Switch to the soft pencil last, because its marks are hard to erase.
On this page: Pencil grades · Holding the pencil · Light lines · Sharpening the pencil
Which pencil for what
| Pencil | What it does | Steps | Used most for |
|---|---|---|---|
| 2H | Hard: a light, thin, grey line that hardly smudges. Don't press: it dents the paper. | 55 | Light Shadows (15), Envelope (12), Block-in (11) |
| HB | In the middle: a firm, clean line that still erases. | 18 | Contour (18) |
| 2B | Soft: dark and easy to blend, and harder to erase. | 35 | Shadow Shapes (15), Value Map (14), Rendering (6) |
| 4B | Softer: the deep shadows. | 24 | Value Map (14), Rendering (6), Details & Highlights (4) |
| 6B | Softest: the last, darkest darks. | 4 | Details & Highlights (4) |
Counted from the 18 drawings on this site: how many Steps use each pencil, and the kinds of Step they are. A Step drawn with a range such as 2B–4B counts for both.
What does HB stand for on a pencil?
H stands for hard and B for black. An HB pencil is in the middle: hard enough for a clean line, black enough to see. Pencils above it get more H (2H, 4H), harder and lighter; pencils below it get more B (2B, 4B), softer and darker.
Which is darker, H or 2H?
H is darker. On the H side a bigger number means a harder pencil and a lighter line, so 2H is lighter than H, and 4H lighter still. On the B side it runs the other way: 4B is darker than 2B.
Which pencils go from lightest to darkest?
From lightest to darkest: 4H, 2H, H, F, HB, B, 2B, 4B, 6B. For most drawings a 2H, an HB and a 2B or 4B cover everything.
Pencil grades
H pencils are hard and draw light, B pencils are soft and draw dark. Every drawing on this site names the pencil for each Step.
- Set up with a 2H: the envelope and guide lines so light they disappear later.
- Firm up the contour with an HB.
- Put in the shadows and the darkest darks with 2B–4B. A soft pencil's marks are hard to erase, so switch to it last.
Drawing from life: With only one pencil (HB), draw the setup very lightly and build the darks in layers. Still, a 2B or 4B makes the biggest difference in the darks.
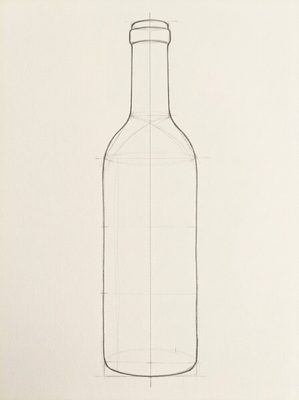
Used in: a bottle (Step 3).
Holding the pencil
Where you hold the pencil decides how long and how light a line can be. Two grips are enough.
- Writing grip: near the tip, as if you were writing. For short lines and small details.
- Overhand grip: hold the pencil far back, inside your palm, lying low to the paper. For long, light lines and wide tones.
- On a long line, move from the shoulder and elbow and keep the wrist still. Don't press your palm on the paper; glide on your little finger.
Drawing from life: If the paper is on your knee or a slanted board, try the underhand grip: your palm faces down and you hold the pencil lightly in your fingertips.
Light lines
Every drawing starts with lines you can still erase or draw over. Keep them light until the shape is right.
- Hold the pencil far back, near the eraser end, so it can only press lightly.
- Draw each line in one long stroke, moving from the elbow, not just the fingers.
- If a line is wrong, don't erase it yet: draw the right one next to it. Darken only the lines you keep.
- Don't press with 2H or harder pencils. A hard tip dents a groove into the paper; the groove won't take tone later and stays a white line inside the shadow.
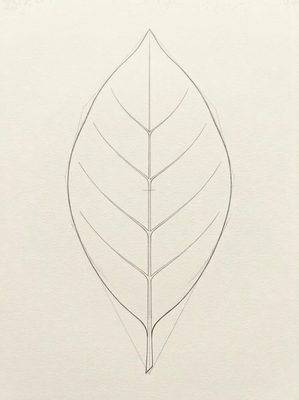
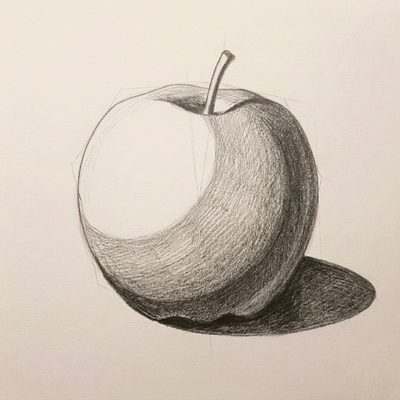
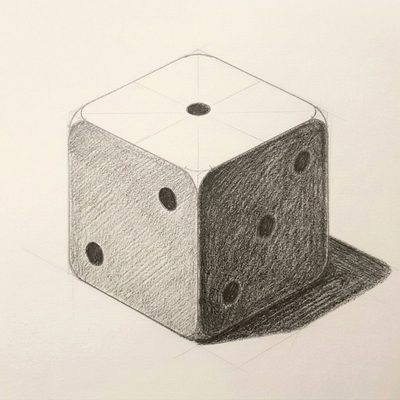
Used in: a leaf (Step 1), a leaf (Step 2), an apple (Step 4), a die (Step 4), a mug (Step 4), a pear (Step 4), a mushroom (Step 4), a pine cone (Step 3), a seashell (Step 4), a Turkish coffee pot (Step 4), a Turkish tea glass (Step 4), books in one-point perspective (Step 5), a hallway in one-point perspective (Step 4), a street in one-point perspective (Step 5), a box in two-point perspective (Step 5), a house in two-point perspective (Step 5), a room in two-point perspective (Step 5).
Sharpening the pencil
The tip decides the line: a sharp point draws thin and crisp, a tip laid on its side gives wide, soft tone.
- Sharpen with a pencil sharpener or a craft knife. With a knife, always carve the wood away from you; leave about 1 cm of graphite showing.
- Now and then, turn the pencil between your fingers as you draw, so the tip doesn't wear down on one side.
- When the tip goes blunt, rub it a few times on fine sandpaper: turning it for a sharp point, or rubbing one side flat for a broad tip.
- A sharp point for lines and detail; for wide areas of tone, lay the pencil down and draw with the side of the tip.
Practise it in a drawing
 How to draw a bottle
 How to draw a leaf
 How to draw an apple
 How to draw a die
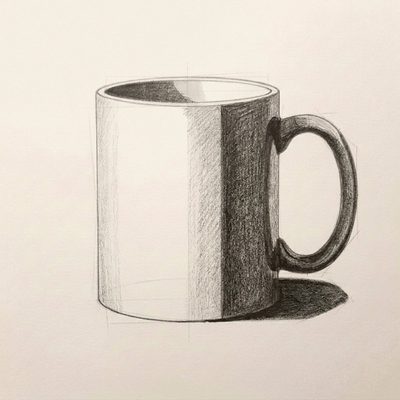 How to draw a mug
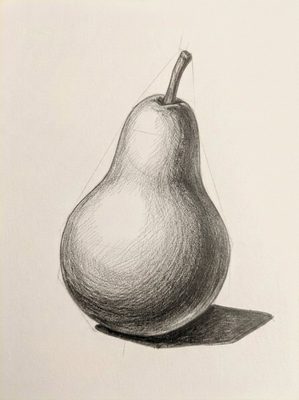 How to draw a pear
More techniques
- Light and shadow: core shadow, cast shadow and reflected light
- How to make a value scale with a pencil
- Hatching, cross-hatching and smooth tones
- How to measure proportions with a pencil
- How to draw ellipses and clear glass
- One-point and two-point perspective
- Erasing, cleaning up and lifting highlights
In Lapis, a technique card opens in the Lesson that first needs it, next to your paper, and stays on your Techniques shelf. You draw freehand with a real pencil; one tap to the next Step.
Get Lapis on the App Store