Hatching, cross-hatching and smooth tones
Hatching is a tone made of short parallel lines. Cross-hatching lays a second layer across the first. To make a tone darker, put the lines closer together or add another layer instead of pressing harder: pressing shines and dents the paper. On a round object, curve the strokes around the form.
On this page: Hatching and cross-hatching · Lines that wrap the form · Smooth tones in layers
Hatching and cross-hatching
A tone gets darker by packing and layering lines, not by pressing harder.
- Make short, parallel strokes all going the same way; finish each in one quick move.
- Keep the gaps even. For a darker tone, make them narrower.
- Darker still: lay a crossing layer on top, and another if needed. Add layers, not pressure.
Drawing from life: Look closely at an engraving or the portrait on a banknote: every grey is made of how close the lines are and how they cross.
Used in: an apple (Step 6), a die (Step 5), a mug (Step 6).
Lines that wrap the form
The direction of your strokes tells the eye the shape of the surface. Straight strokes make a round thing look flat.
- Imagine lines drawn around the object, like the stripes of a shell.
- Hatch along those lines: they curve over a round form.
- Where the surface turns away from you, the curves get tighter and closer together.
Used in: a seashell (Step 7).
Smooth tones in layers
Pressing hard for a dark tone shines and dents the paper. Build it up in light layers instead.
- Lay down an even, light layer of hatching in one direction.
- Hatch a second layer across it. Repeat where the tone must get darker.
- Soften the lines with a tissue or a blending stump, not your finger: skin leaves grease.
Used in: a pear (Step 7), a pine cone (Step 5), a Turkish coffee pot (Step 7), a Turkish tea glass (Step 7).
Practise it in a drawing
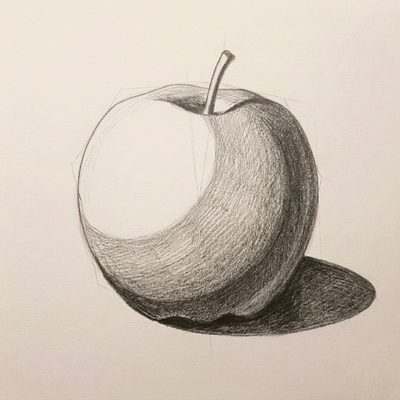 How to draw an apple
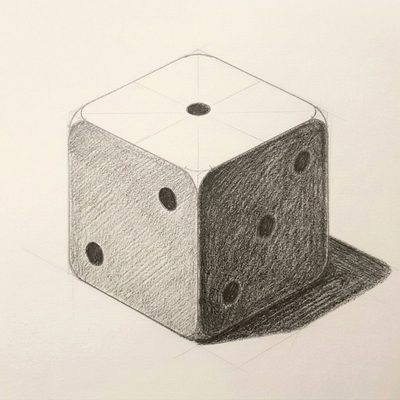 How to draw a die
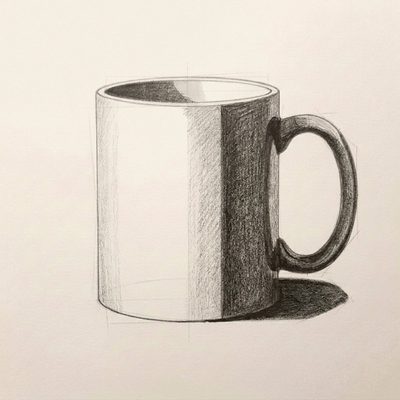 How to draw a mug
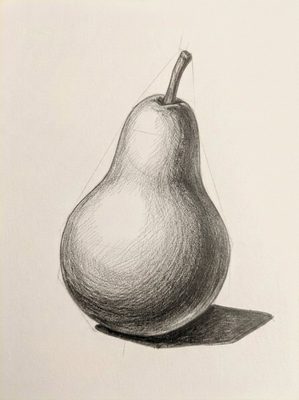 How to draw a pear
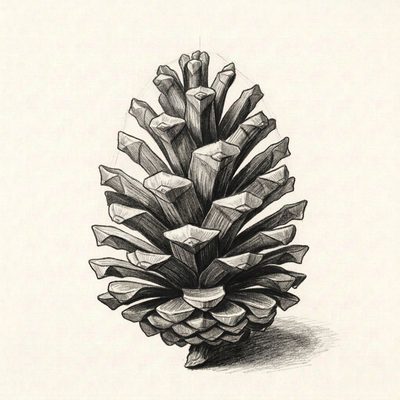 How to draw a pine cone
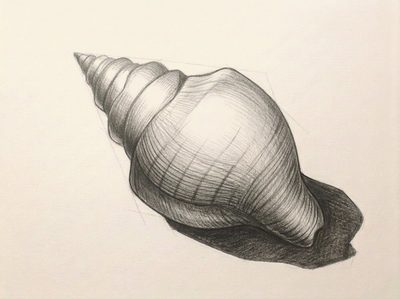 How to draw a seashell
More techniques
- Pencil grades: 2H, HB, 2B and 4B, and when to use each
- Light and shadow: core shadow, cast shadow and reflected light
- How to make a value scale with a pencil
- How to measure proportions with a pencil
- How to draw ellipses and clear glass
- One-point and two-point perspective
- Erasing, cleaning up and lifting highlights
In Lapis, a technique card opens in the Lesson that first needs it, next to your paper, and stays on your Techniques shelf. You draw freehand with a real pencil; one tap to the next Step.
Get Lapis on the App Store