How to measure proportions with a pencil
Hold your pencil at arm's length with one eye closed. Put its tip on one edge of the object and your thumb on the other: that length is your unit. Keeping your arm straight, count how many units the other side is. On paper, keep the same ratio. You carry a ratio to the paper, not a length.
On this page: Measuring with your pencil · Drawing the gaps · Big to small · Looking from afar
Measuring with your pencil
Don't guess proportions, measure them. What you carry to the paper is a ratio, not a length.
- Hold your pencil against the object: tip on one edge of the body, thumb on the other. That's your unit.
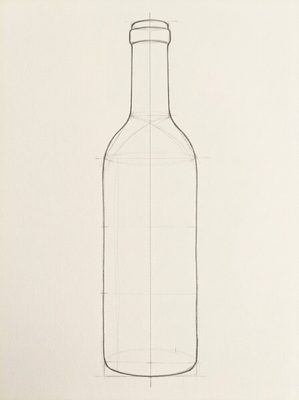
- Keep your thumb still, turn the pencil upright and count: how many units tall is it? For the bottle in the picture, about 4.
- Use the same ratio on paper: however wide you drew the body, make the bottle 4 times as tall.
Drawing from life: Stretch your arm all the way, close one eye and hold the pencil in front of the object the same way. Keep your arm straight for every measurement, so the distance never changes.
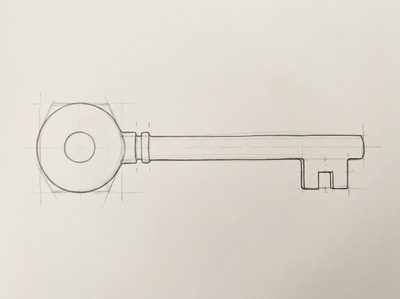
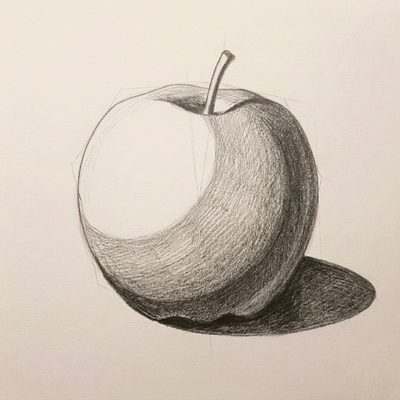
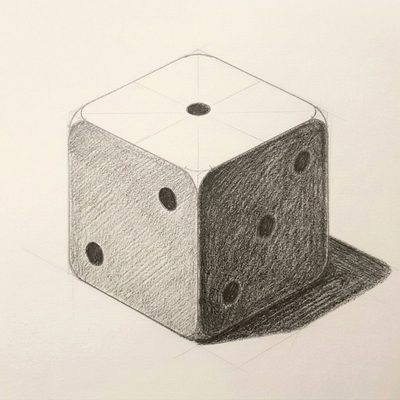
Used in: a bottle (Step 1), an old key (Step 1), an apple (Step 1), a die (Step 1), a mug (Step 1), a pear (Step 1), a mushroom (Step 1), a pine cone (Step 1), a seashell (Step 1), a Turkish coffee pot (Step 1), a Turkish tea glass (Step 1).
Drawing the gaps
Your brain knows what a key looks like and draws that instead of what's there. A gap has no name, so you see its real shape.
- Look at the empty shapes: the spaces between the teeth, then the hole in the ring.
- Ask how big each gap is compared to its neighbours, and draw the gap itself.
- The edges of the gaps are the edges of the key: get the gaps right and the key comes out right.
Used in: an old key (Step 2).
Big to small
Many small parts make one big form. Draw the form first, or the parts will wander off it.
- Draw the big, simple form: here an egg.
- Draw the rows the small parts sit on. They curve with the form.
- Fill in the small parts one row at a time. Each row's parts get smaller near the edges.
Used in: a pine cone (Step 2).
Looking from afar
Up close you only see the part you're drawing. From a few steps back, mistakes in shape and tone jump out.
- Every few minutes, stand your drawing up next to what you're drawing from.
- Step back three paces and look at both together.
- Ask one question: what is the biggest difference? Fix that first.
Drawing from life: Photograph your drawing and look at it small on the phone, or turn both upside down: you see it with fresh eyes.
Used in: a mushroom (Step 7).
Practise it in a drawing
 How to draw a bottle
 How to draw an old key
 How to draw an apple
 How to draw a die
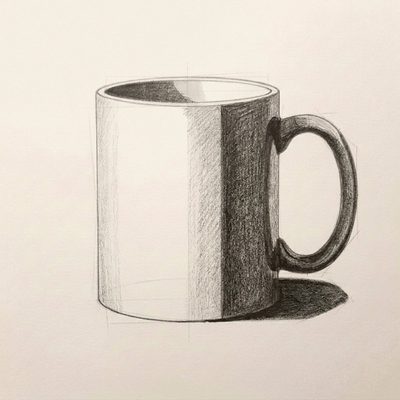 How to draw a mug
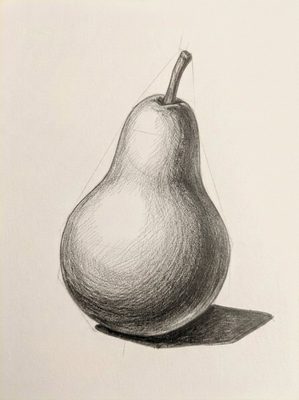 How to draw a pear
More techniques
- Pencil grades: 2H, HB, 2B and 4B, and when to use each
- Light and shadow: core shadow, cast shadow and reflected light
- How to make a value scale with a pencil
- Hatching, cross-hatching and smooth tones
- How to draw ellipses and clear glass
- One-point and two-point perspective
- Erasing, cleaning up and lifting highlights
In Lapis, a technique card opens in the Lesson that first needs it, next to your paper, and stays on your Techniques shelf. You draw freehand with a real pencil; one tap to the next Step.
Get Lapis on the App Store