How to draw ellipses and clear glass
Every circle seen at an angle is an ellipse: the rim of a mug, the base of a glass. Draw a centre line first and sit the ellipse across it, the same on both sides. Draw the whole ellipse, the back half too, in a few light loops. The ends are round, never pointed.
On this page: Drawing ellipses · Drawing clear glass
Drawing ellipses
Every circle seen at an angle is an ellipse: the rim of a mug, the base of a glass. Most drawings go wrong at their ends.
- Draw a centre line first. The ellipse sits across it, symmetric on both sides.
- Draw the whole ellipse, the back half too, in a few quick, light loops; keep the best one.
- The ends are round, never pointed. Ellipses lower down, further below your eyes, are rounder.
Used in: a bottle (Step 2), a mug (Step 2), a mug (Step 3), a mushroom (Step 2), a Turkish coffee pot (Step 2), a Turkish tea glass (Step 2).
Drawing clear glass
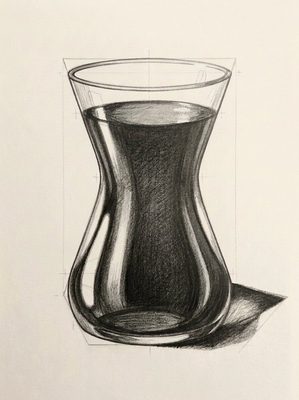
Glass isn't invisible: it shows what's behind it, a little shifted. The edges and the lights tell the eye it's glass.
- Draw the back edges too, but lighter: you see them through the glass.
- Draw what's behind where you see it, not where it should be: inside the glass it shifts and bends.
- Leave the brightest lights blank or lift them with the eraser: thin, hard and close to the edge.
Drawing from life: Put a pencil behind a glass of water: inside the water it looks broken and shifted. Draw what you see, not what you know.
Used in: a Turkish tea glass (Step 3).
Practise it in a drawing
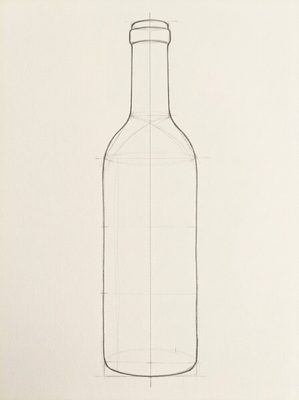 How to draw a bottle
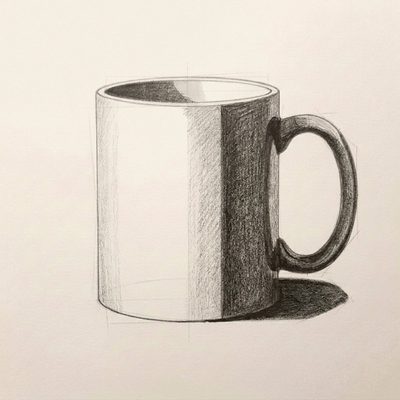 How to draw a mug
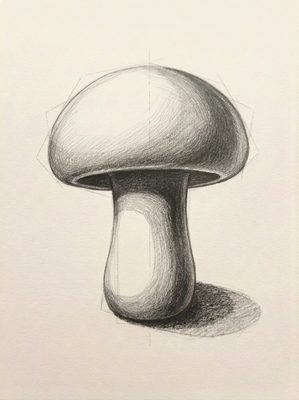 How to draw a mushroom
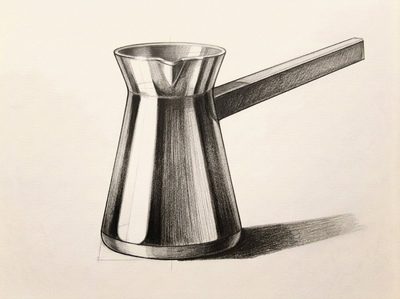 How to draw a Turkish coffee pot
 How to draw a Turkish tea glass
More techniques
- Pencil grades: 2H, HB, 2B and 4B, and when to use each
- Light and shadow: core shadow, cast shadow and reflected light
- How to make a value scale with a pencil
- Hatching, cross-hatching and smooth tones
- How to measure proportions with a pencil
- One-point and two-point perspective
- Erasing, cleaning up and lifting highlights
In Lapis, a technique card opens in the Lesson that first needs it, next to your paper, and stays on your Techniques shelf. You draw freehand with a real pencil; one tap to the next Step.
Get Lapis on the App Store