Light and shadow: core shadow, cast shadow and reflected light
Light falls on every round form in the same order. The side facing the light stays as paper. Where the form turns away from the light is the core shadow, its darkest band. Just inside the far edge a little reflected light bounces back from the table. On the table lies the cast shadow, darkest right under the object.
On this page: The family of light · Building a cast shadow
The family of light
Light falls on every round form in the same order. Once you know the order, you know where each tone goes.
- Light: the side facing the light, with the brightest spot. Leave it as paper.
- Core shadow: the darkest band of the form, where it turns away from the light.
- Reflected light: a little light bounced back from the table, just inside the edge. Lighter than the core shadow, never as light as the light side.
- Cast shadow: the shadow on the table, darkest right under the object.
Drawing from life: Put an apple next to a window or under one lamp, with other lights off. You will find all four.
Used in: an apple (Step 5), a mug (Step 5), a pear (Step 5), a mushroom (Step 5), a pine cone (Step 4), a seashell (Step 5), a Turkish coffee pot (Step 5), a Turkish tea glass (Step 5).
Building a cast shadow
A cast shadow isn't a random smudge. You find each corner's shadow with two lines: one on the table, one from the light.
- Choose the light: from the upper left, parallel to the paper. Every ray comes down at the same slope.
- From where each upright edge meets the table, draw a level line to the right.
- From the top of that edge, draw a ray at the same slope: where it crosses the level line is the corner's shadow. Join the points.
Drawing from life: Look at a box's shadow in the sun: the shadows of the edges running into depth head for the same vanishing point.
Used in: books in one-point perspective (Step 3), a box in two-point perspective (Step 3).
Practise it in a drawing
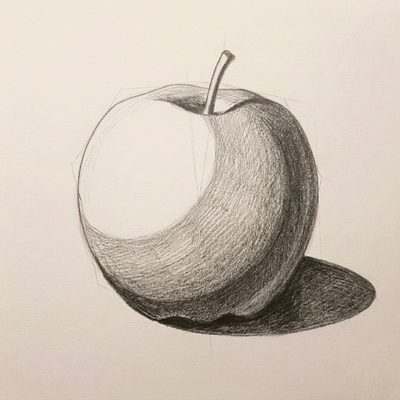 How to draw an apple
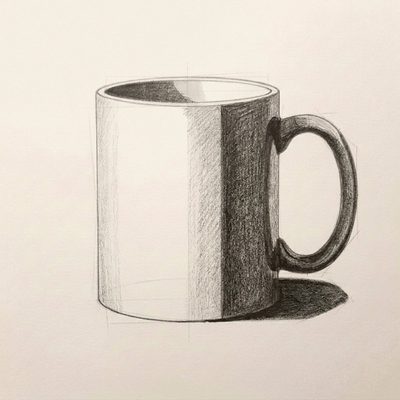 How to draw a mug
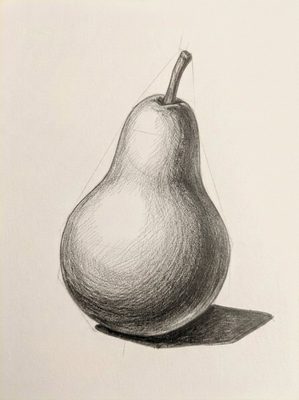 How to draw a pear
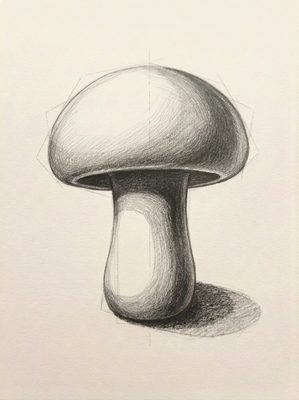 How to draw a mushroom
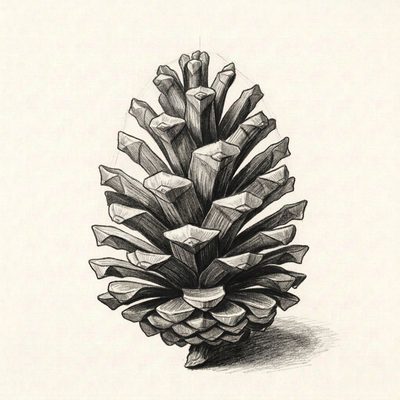 How to draw a pine cone
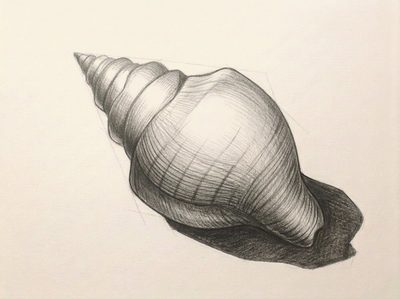 How to draw a seashell
More techniques
- Pencil grades: 2H, HB, 2B and 4B, and when to use each
- How to make a value scale with a pencil
- Hatching, cross-hatching and smooth tones
- How to measure proportions with a pencil
- How to draw ellipses and clear glass
- One-point and two-point perspective
- Erasing, cleaning up and lifting highlights
In Lapis, a technique card opens in the Lesson that first needs it, next to your paper, and stays on your Techniques shelf. You draw freehand with a real pencil; one tap to the next Step.
Get Lapis on the App Store