How to draw a mug
With a pencil on paper, in 6 Steps: Envelope, Block-in, Contour, Light Shadows, Shadow Shapes and Value Map. Each Step shows what your paper should look like when it's done.
What this drawing teaches: a cylinder: ellipses at top and bottom, and a shadow that turns softly.
- 6 Steps
- Medium
- Pencils: 2H, HB, 2B, 4B
- Light from the upper left
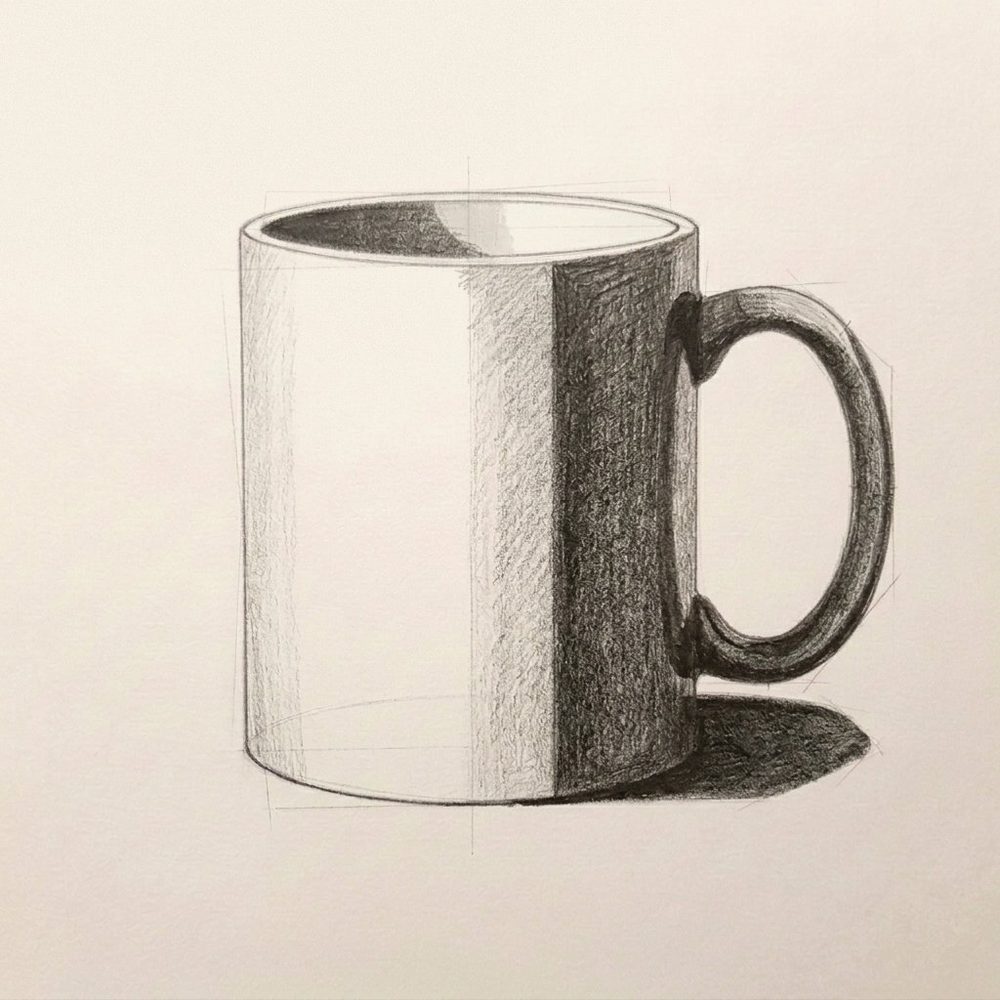
What you need
Pencils 2H, HB, 2B, 4B, an eraser and any drawing paper. If you only have one ordinary HB pencil, start anyway: press lightly for the early Steps and harder for the darks.
The Steps
Step 1Envelope2H
A few straight lines that box in the whole shape. Get its size and tilt right before any curve.
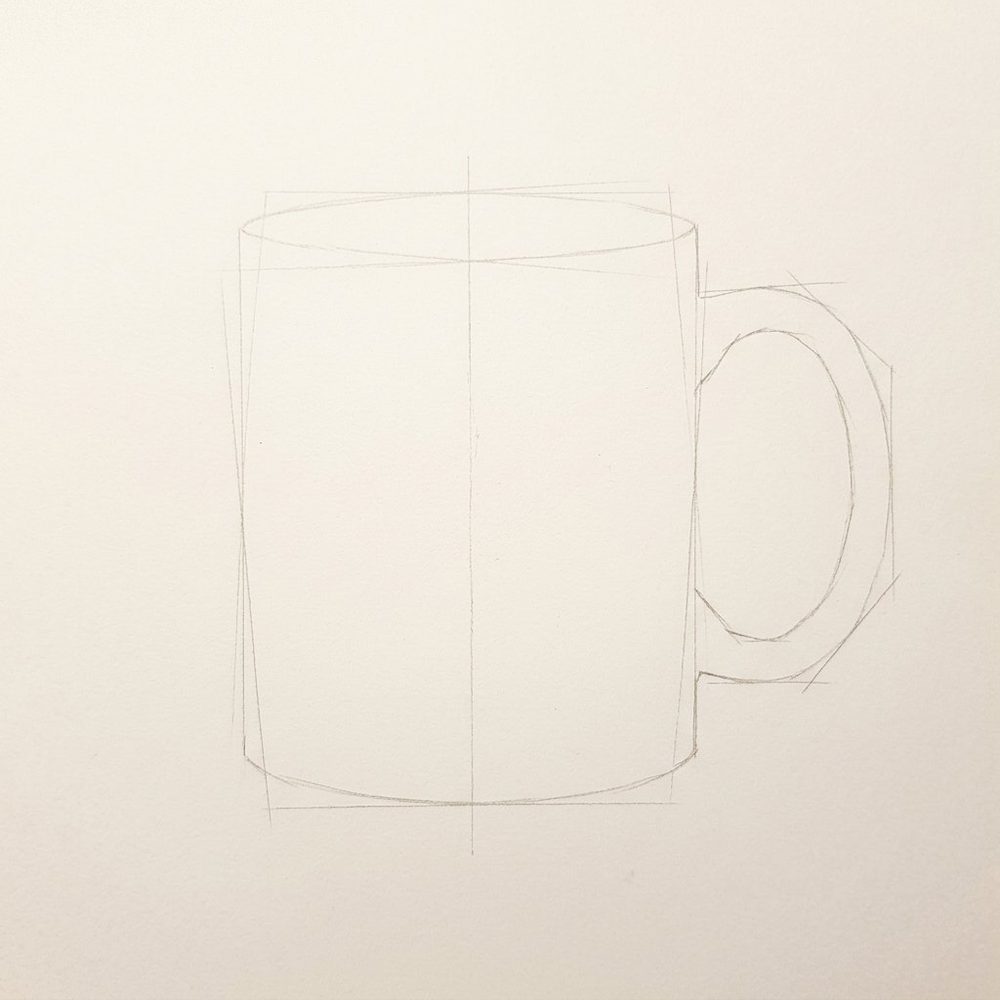
- Draw a vertical centre line through the body, then box the mug and handle with straight lines.
- Measure: the mug is a little taller than it is wide.
Technique: Measuring with your pencil
Step 2Block-in2H
Simple shapes inside the envelope, already at their final size and place.
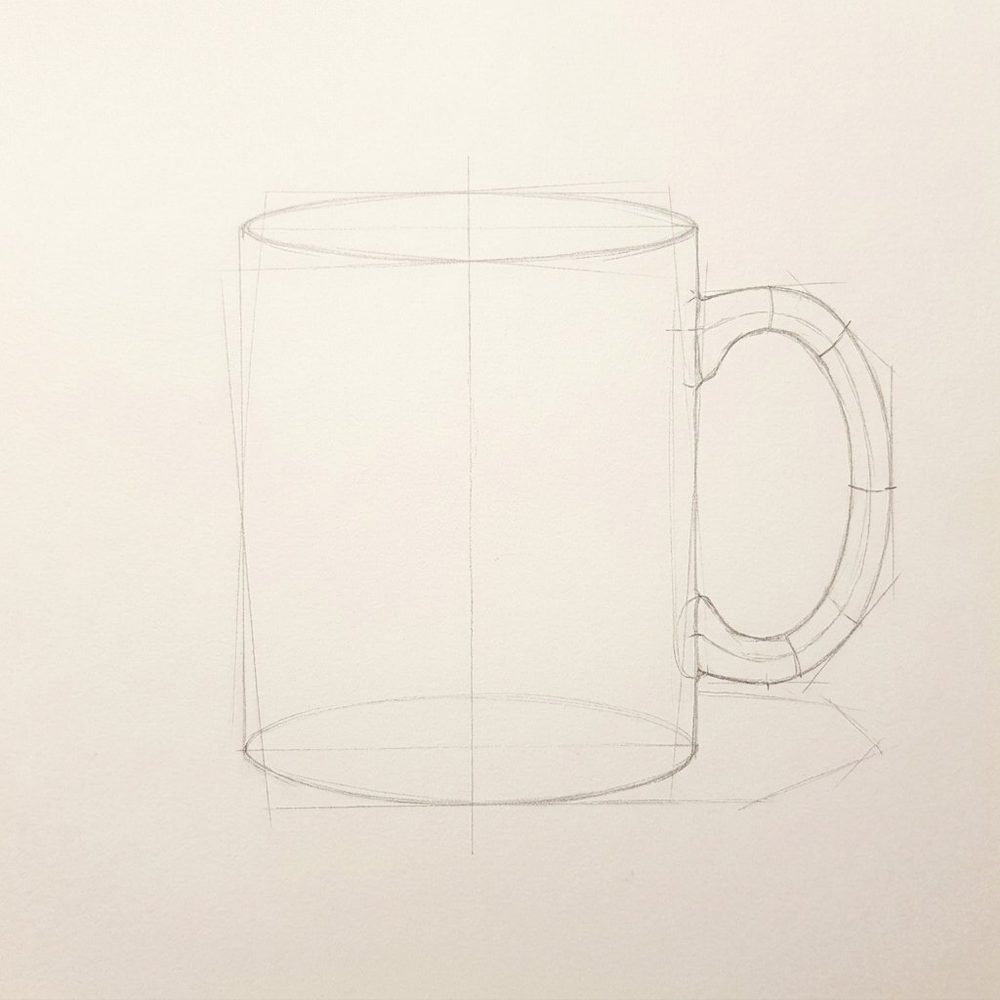
- Draw the rim as a full ellipse, including the back half you can't see.
- The bottom ellipse is a little rounder than the top one: you look down on it more.
- Block in the handle as a C on the right.
Technique: Drawing ellipses
Step 3ContourHB
One clean outline over the construction lines, which stay faint underneath.
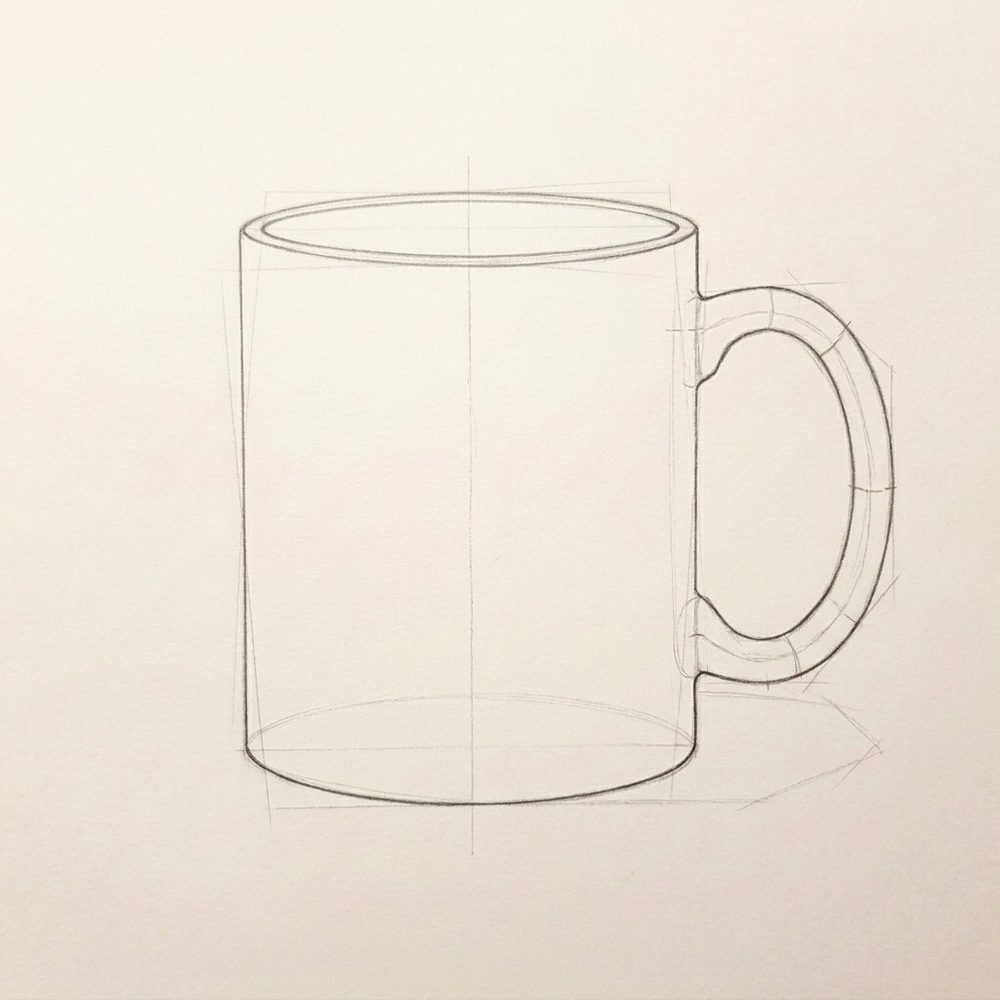
- Switch to HB. Draw the rim with its thickness: two ellipses close together.
- At the bottom, draw only the front half of the ellipse.
- Give the handle an inner and an outer edge.
Technique: Drawing ellipses
- From here on, the shading
Steps 4 to 6 are where the drawing turns solid: light shadows first, then the shadow shapes and the tones. Their names, pencils and tips are below; the picture of each Step is in Lapis, full screen next to your paper.
Try Lapis free for 7 days Step 4Light Shadows2H
One even, light tone over everything the light doesn't reach directly.
The picture for this Step is in the Lapis app.- Tone a band down the right side, the handle's shadow side and the inside wall on the left.
- Add the cast shadow to the lower right, all in one pale 2H tone.
Technique: Light lines
Step 5Shadow Shapes2B
Inside that light tone, the darker shapes: the core shadow and the cast shadow.
The picture for this Step is in the Lapis app.- The shadow on a cylinder is a vertical strip on the side away from the light.
- Inside the mug it's the other way round: the left inner wall is in shadow.
- Fill the shadows, the handle's underside and the cast shadow with one 2B tone.
Technique: The family of light
Step 6Value Map2B–4B
The drawing sorted into a few flat tones, from the white of the paper to the darkest dark.
The picture for this Step is in the Lapis app.- Tones on a cylinder run in vertical bands: light, half-tone, dark.
- Keep the brightest strip a quarter of the way in from the left, not at the edge.
- The far right edge is a little lighter than the core shadow: reflected light.
Technique: Hatching and cross-hatching
- Your own photo next?The Shading Planner turns any photo into the same three shading Steps (light shadows, shadow shapes, value map) with a pencil for each tone. Open the Shading Planner
Lapis is an iPhone app that sits beside your paper and shows each Step full screen, with tips, a Pencil Grade and an optional Grid. You draw freehand; one tap to the next Step.
This Lesson is part of Lapis Pro, with 7 days free.
Get Lapis on the App Store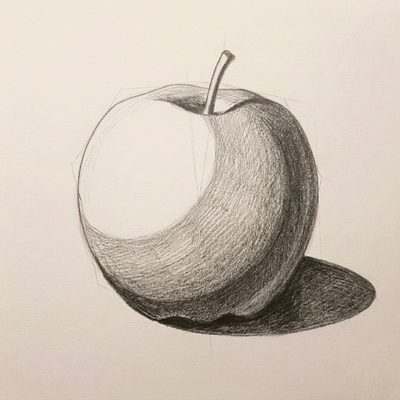 How to draw an apple
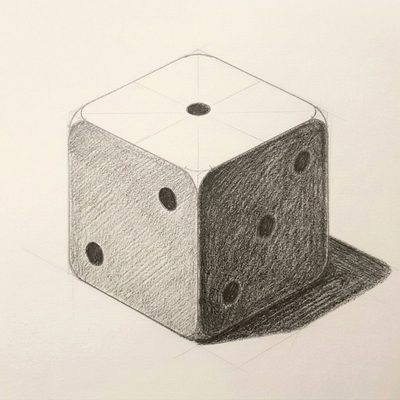 How to draw a die
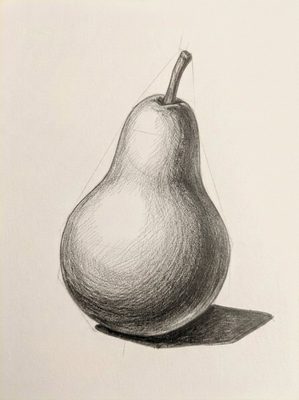 How to draw a pear