One-point and two-point perspective
The horizon is your eye level. In one-point perspective, every line that runs into depth meets at one vanishing point on the horizon, and the side facing you is drawn flat. In two-point perspective the object faces you with a corner: its two sides run to two points on the same horizon, and upright edges stay upright.
On this page: Horizon and vanishing point · Two vanishing points · Spacing with a diagonal
Horizon and vanishing point
The horizon is your eye level. Every line that runs into depth meets the others at one point on it.
- Draw a light, level line right across the paper: the horizon.
- Put the vanishing point on the horizon. In one-point perspective there is only one.
- Draw the side facing you flat. Pull light lines from its corners to the point, and end the depth on those lines.
Drawing from life: Hold your pencil level at eye height: that is the horizon. Line the pencil up with the edge of a box on the table and see where on the horizon the edge is heading.
Used in: books in one-point perspective (Step 1), a hallway in one-point perspective (Step 1), a street in one-point perspective (Step 1).
Two vanishing points
When an object faces you with a corner, its two sides run to two different points. Both points sit on the same horizon.
- Draw the horizon and put two vanishing points on it, far apart.
- Draw the upright edge nearest to you. From its top and its foot, pull light lines to both points.
- Finish each side between its own point's lines; upright edges stay upright. The middle of a side is where its diagonals cross.
Drawing from life: Stand at a street corner: the rows of windows on the two fronts run to two separate points on the horizon. A door or a roof's peak is often in the middle of a side.
Used in: a box in two-point perspective (Step 1), a house in two-point perspective (Step 1), a room in two-point perspective (Step 1).
Spacing with a diagonal
Tiles, doors and windows of the same size crowd together as they recede. Don't guess how much: a diagonal shows you.
- Divide the front edge into equal steps and draw a line from each to the vanishing point.
- Place the back edge of the first row by eye: a square tile looks flattened in depth.
- Draw a diagonal through the first tile. Wherever it crosses a line, draw the next level joint.
Drawing from life: Look at a tiled floor: the tile corners line up along diagonal lines. The same works for rows of windows and doors.
Used in: a hallway in one-point perspective (Step 3), a street in one-point perspective (Step 3).
Practise it in a drawing
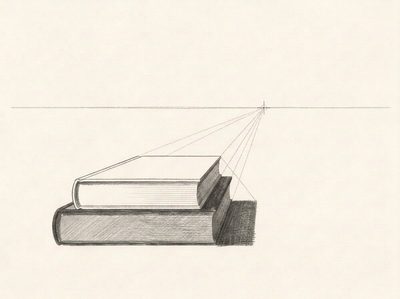 How to draw books in one-point perspective
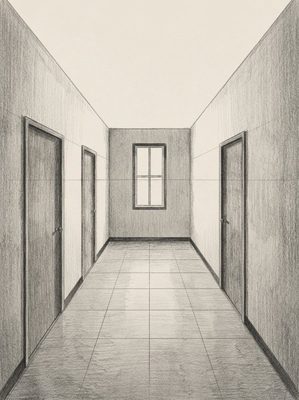 How to draw a hallway in one-point perspective
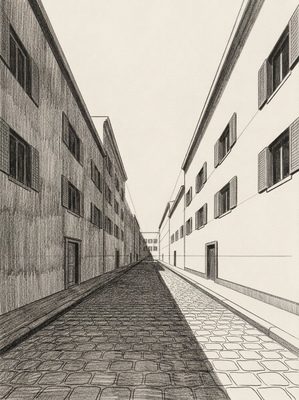 How to draw a street in one-point perspective
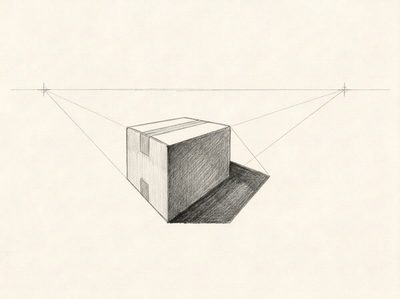 How to draw a box in two-point perspective
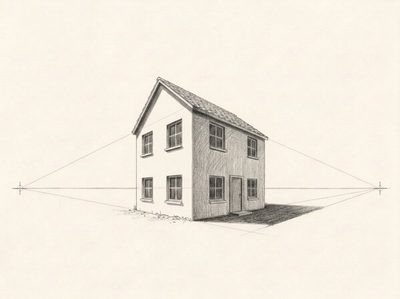 How to draw a house in two-point perspective
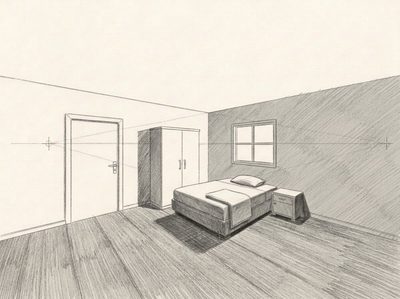 How to draw a room in two-point perspective
More techniques
- Pencil grades: 2H, HB, 2B and 4B, and when to use each
- Light and shadow: core shadow, cast shadow and reflected light
- How to make a value scale with a pencil
- Hatching, cross-hatching and smooth tones
- How to measure proportions with a pencil
- How to draw ellipses and clear glass
- Erasing, cleaning up and lifting highlights
In Lapis, a technique card opens in the Lesson that first needs it, next to your paper, and stays on your Techniques shelf. You draw freehand with a real pencil; one tap to the next Step.
Get Lapis on the App Store