How to draw a street in one-point perspective
With a pencil on paper, in 7 Steps: Horizon, Buildings, Doors & Windows, Contour, Light Shadows, Shadow Shapes and Value Map. Each Step shows what your paper should look like when it's done.
What this drawing teaches: one-point perspective outdoors: rooflines, windows and kerbs all run to one point.
- 7 Steps
- Medium
- Pencils: 2H, HB, 2B, 4B
- Light from the the upper left, a low afternoon sun
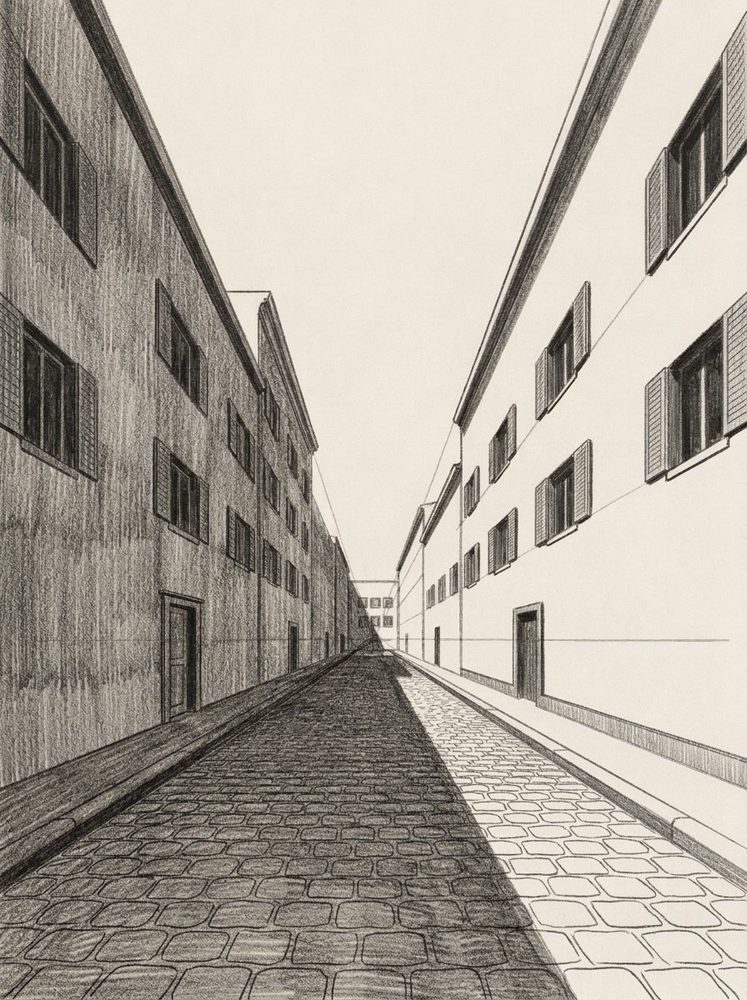
What you need
Pencils 2H, HB, 2B, 4B, an eraser and any drawing paper. If you only have one ordinary HB pencil, start anyway: press lightly for the early Steps and harder for the darks.
The Steps
Step 1Horizon2H
A horizon line at eye level, and the vanishing point or points on it.
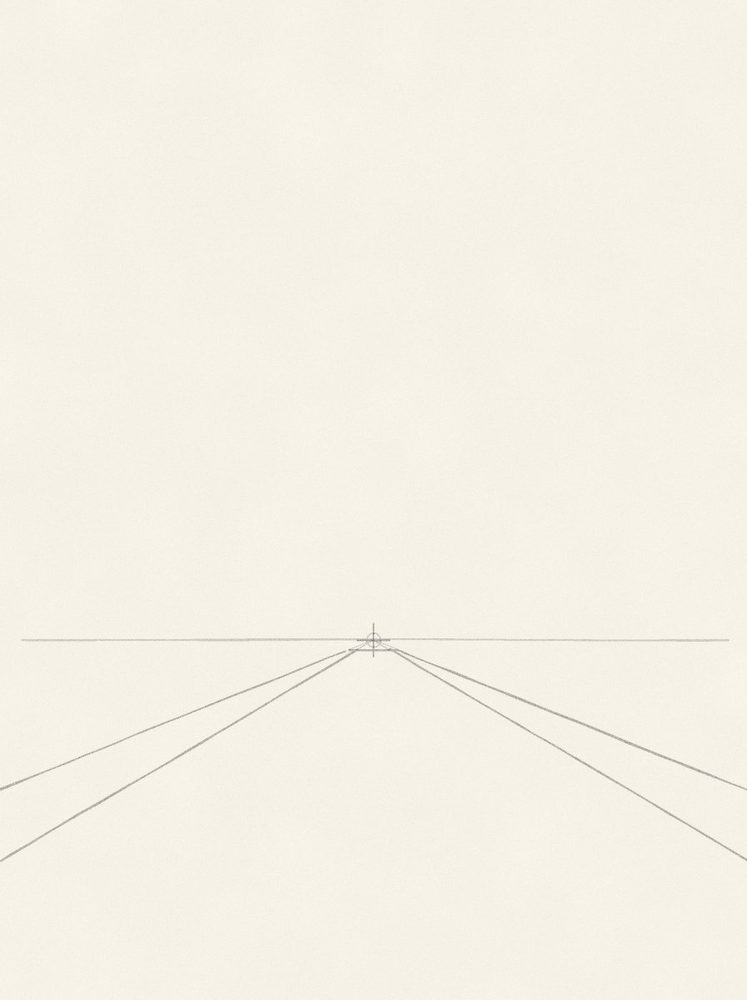
- Your eye level is the horizon: draw it about a third of the way up the paper.
- Put the vanishing point in the middle of it.
- Draw the house fronts' bases and both kerbs as straight lines from the vanishing point down to the paper's edges.
Technique: Horizon and vanishing point
Step 2Buildings2H
The big blocks of the buildings, every receding edge on its way to a vanishing point.
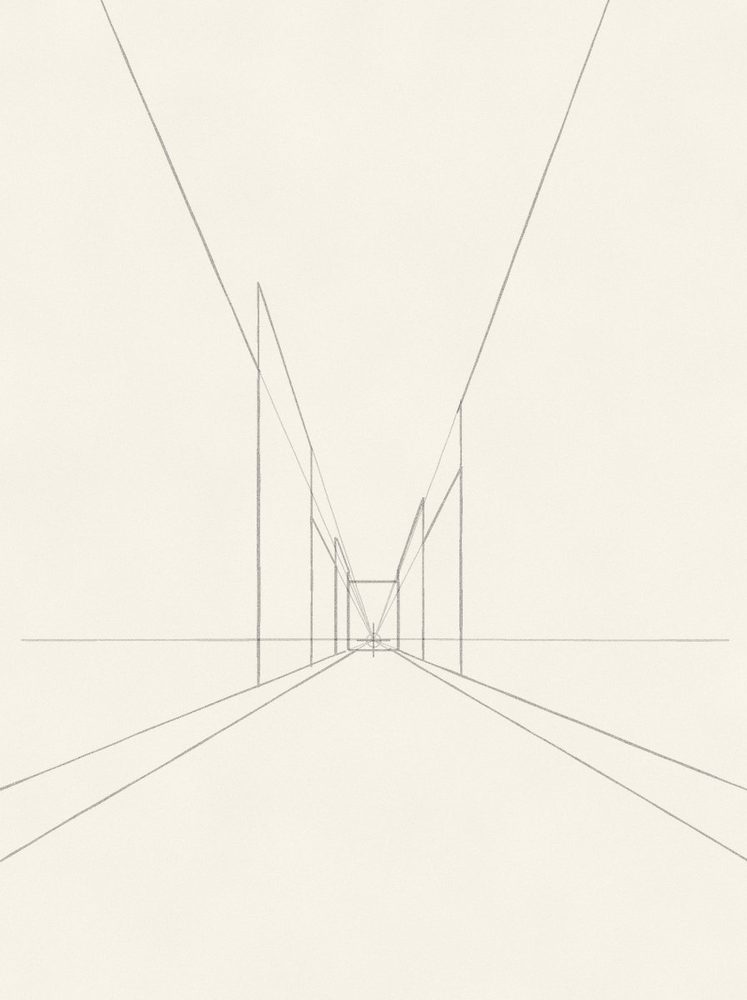
- Each house starts and ends with a vertical line.
- Every roofline runs to the vanishing point, so it slopes down toward it.
- Vary the heights; the house at the far end stands flat, with no perspective.
Step 3Doors & Windows2H
Doors and windows set into the walls, running to the same points.
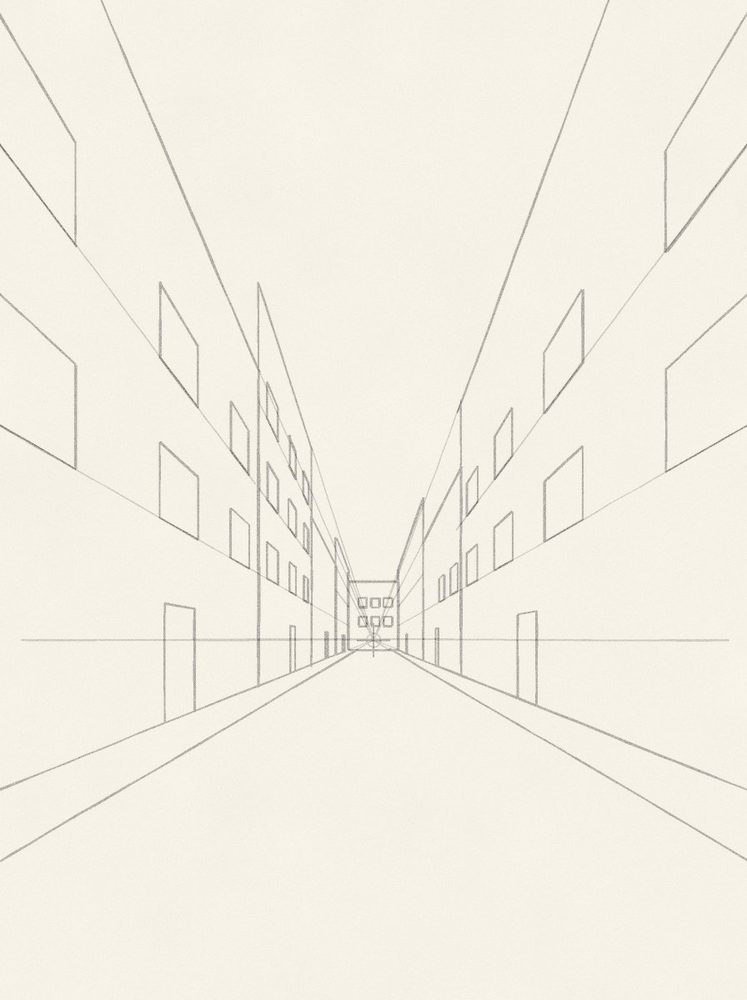
- Each floor of windows sits on a light line running to the vanishing point.
- Windows of the same size crowd together and get narrower as they recede.
- One door per house on the ground floor; window and door edges stay vertical.
Technique: Spacing with a diagonal
Step 4ContourHB
One clean outline over the construction lines, which stay faint underneath.
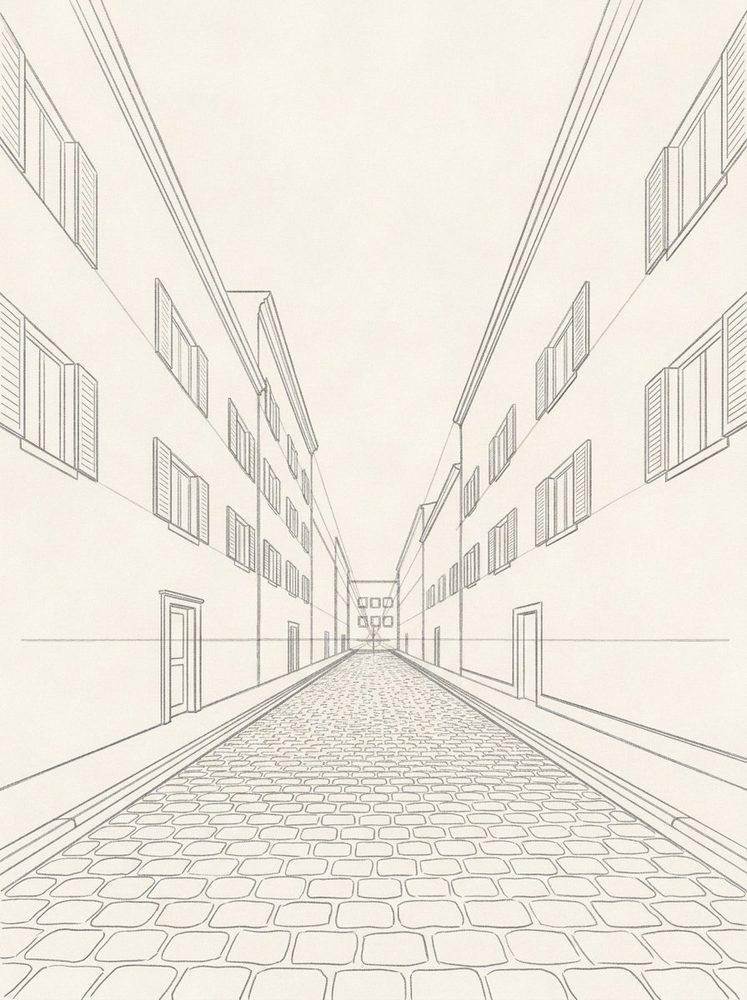
- Draw the houses with HB; add shutters and a thin cornice under each roofline.
- Cobbles: rows that get smaller and closer together toward the back.
- Every new line that recedes still runs to the vanishing point.
- From here on, the shading
Steps 5 to 7 are where the drawing turns solid: light shadows first, then the shadow shapes and the tones. Their names, pencils and tips are below; the picture of each Step is in Lapis, full screen next to your paper.
Try Lapis free for 7 days Step 5Light Shadows2H
One even, light tone over everything the light doesn't reach directly.
The picture for this Step is in the Lapis app.- Tone the left row of facades and the shaded half of the street.
- Let your hatching follow the lines to the vanishing point.
Technique: Light lines
Step 6Shadow Shapes2B
Inside that light tone, the darker shapes: the core shadow and the cast shadow.
The picture for this Step is in the Lapis app.- The low sun is on the upper left: the left-hand house fronts are in shadow.
- Their shadow crosses the road; its edge also runs to the vanishing point.
- The right-hand fronts stay bare paper.
Step 7Value Map2B–4B
The drawing sorted into a few flat tones, from the white of the paper to the darkest dark.
The picture for this Step is in the Lapis app.- Darken the left fronts to a mid-dark grey; shutters and doors darker still.
- The road is mid-dark in the shadow, mid grey in the sun.
- Keep the far house the lightest: distance softens everything.
- Your own photo next?The Shading Planner turns any photo into the same three shading Steps (light shadows, shadow shapes, value map) with a pencil for each tone. Open the Shading Planner
Lapis is an iPhone app that sits beside your paper and shows each Step full screen, with tips, a Pencil Grade and an optional Grid. You draw freehand; one tap to the next Step.
This Lesson is part of Lapis Pro, with 7 days free.
Get Lapis on the App Store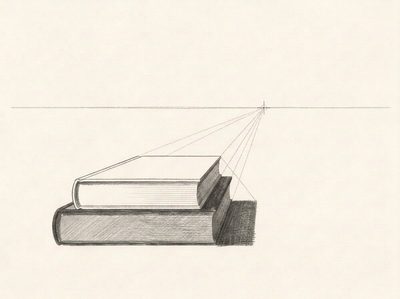 How to draw books in one-point perspective
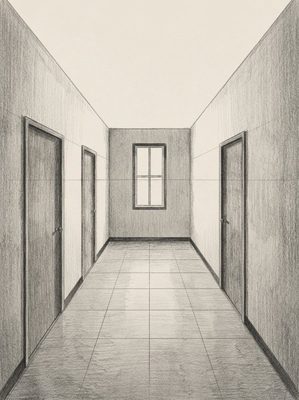 How to draw a hallway in one-point perspective
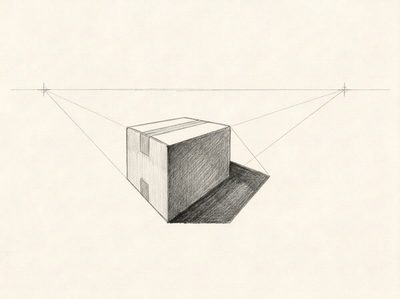 How to draw a box in two-point perspective