How to draw a room in two-point perspective
With a pencil on paper, in 7 Steps: Horizon, Boxes, Doors & Windows, Contour, Light Shadows, Shadow Shapes and Value Map. Each Step shows what your paper should look like when it's done.
What this drawing teaches: two-point perspective from inside: the corner goes away from you.
- 7 Steps
- Medium
- Pencils: 2H, HB, 2B, 4B
- Light from the from the window
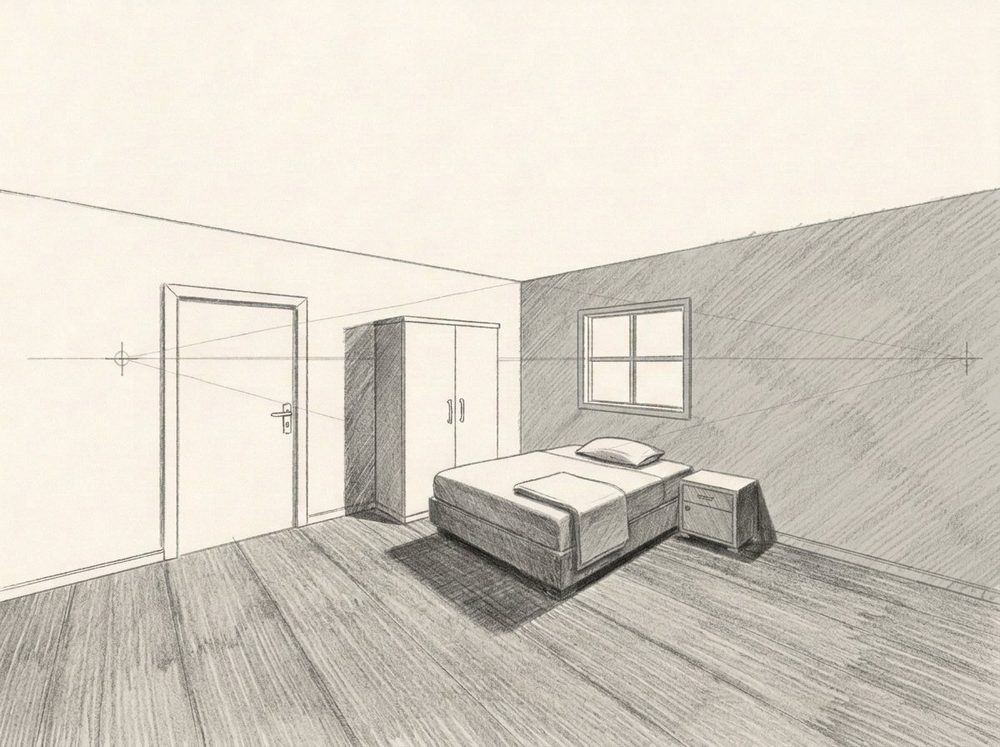
What you need
Pencils 2H, HB, 2B, 4B, an eraser and any drawing paper. If you only have one ordinary HB pencil, start anyway: press lightly for the early Steps and harder for the darks.
The Steps
Step 1Horizon2H
A horizon line at eye level, and the vanishing point or points on it.
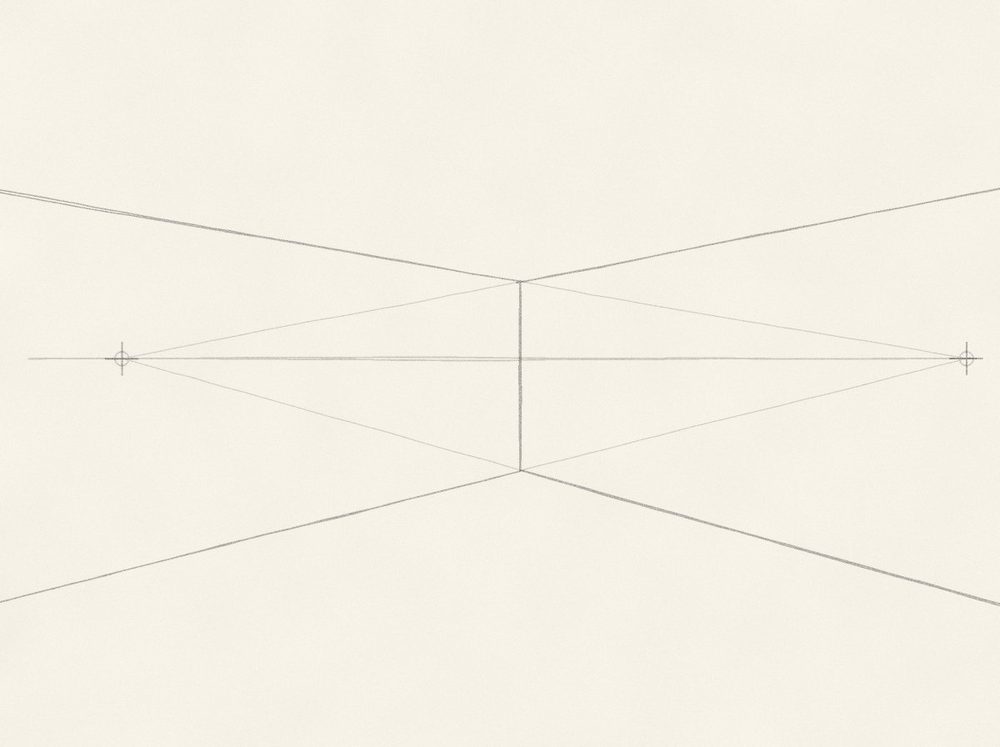
- The horizon is your eye level: standing up, it crosses the walls a little above halfway.
- The corner of the room is one upright line, the part farthest from you.
- Floor and ceiling lines open out of the corner toward you. Run them back past the corner: the left wall's lines meet at the right-hand point, the right wall's at the left-hand one.
Technique: Two vanishing points
Step 2Boxes2H
Simple boxes whose edges all run to the vanishing points.
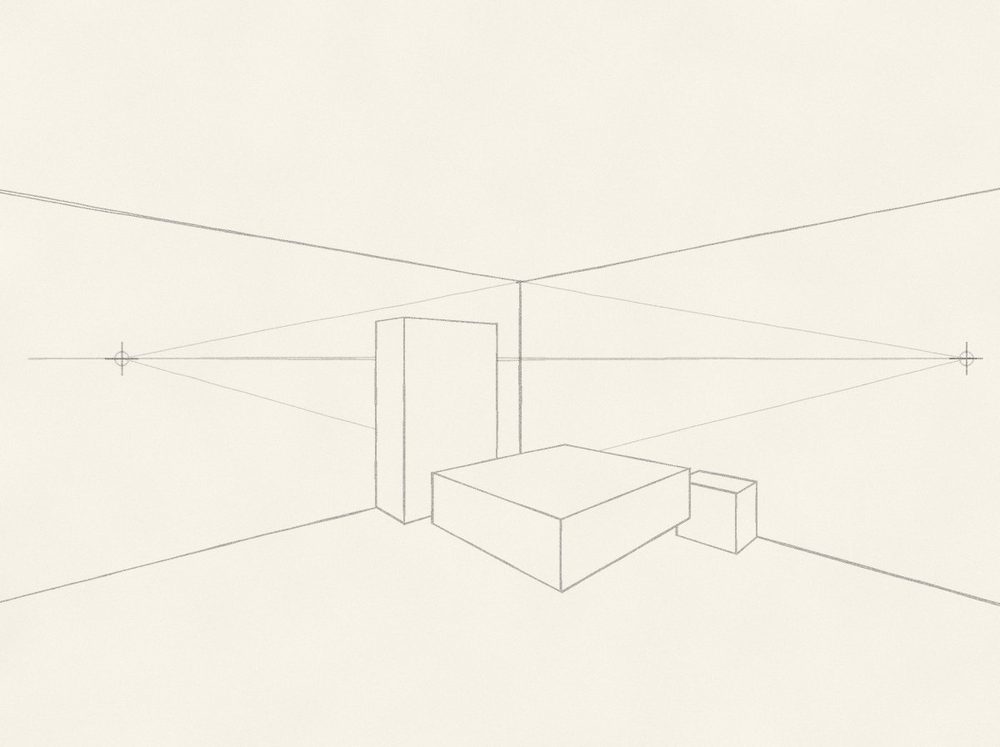
- Set each piece against its wall: its back edge sits on that wall's floor line.
- The furniture's edges run to the same two points as the walls.
- Keep the sizes honest: the wardrobe tall and narrow, the bed low and long, the cabinet small beside it.
Step 3Doors & Windows2H
Doors and windows set into the walls, running to the same points.
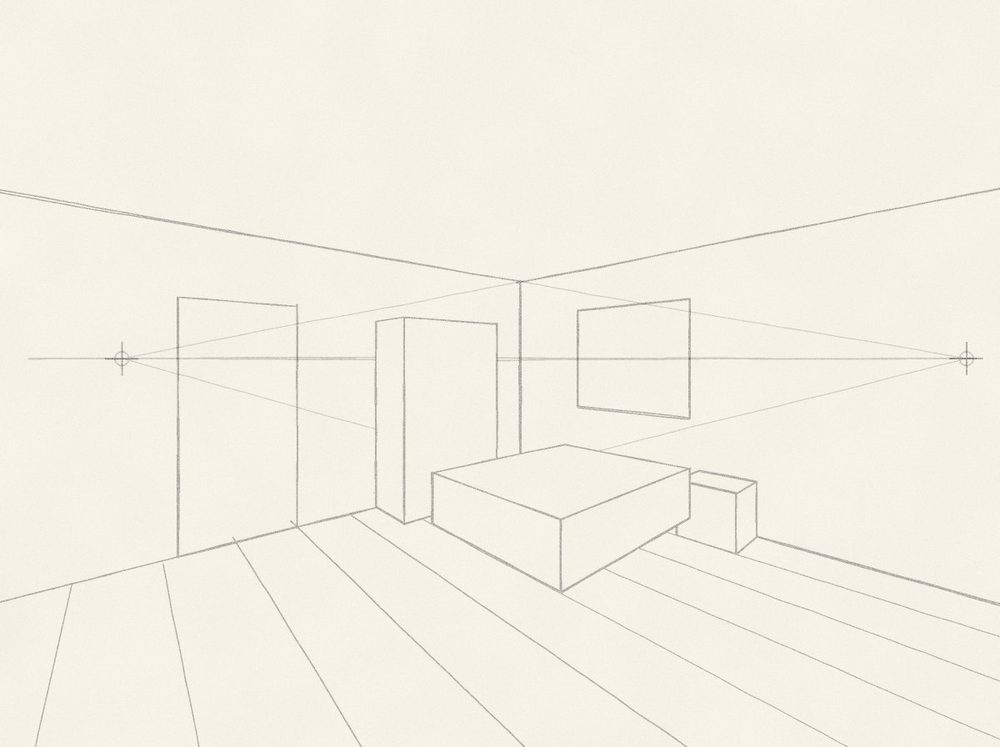
- The door and the window sit on their walls: their tops and bottoms run to that wall's point.
- The floorboards are parallel to the right-hand wall, so they all run to the left-hand point.
- Boards of equal width look narrower the farther they are.
Step 4ContourHB
One clean outline over the construction lines, which stay faint underneath.
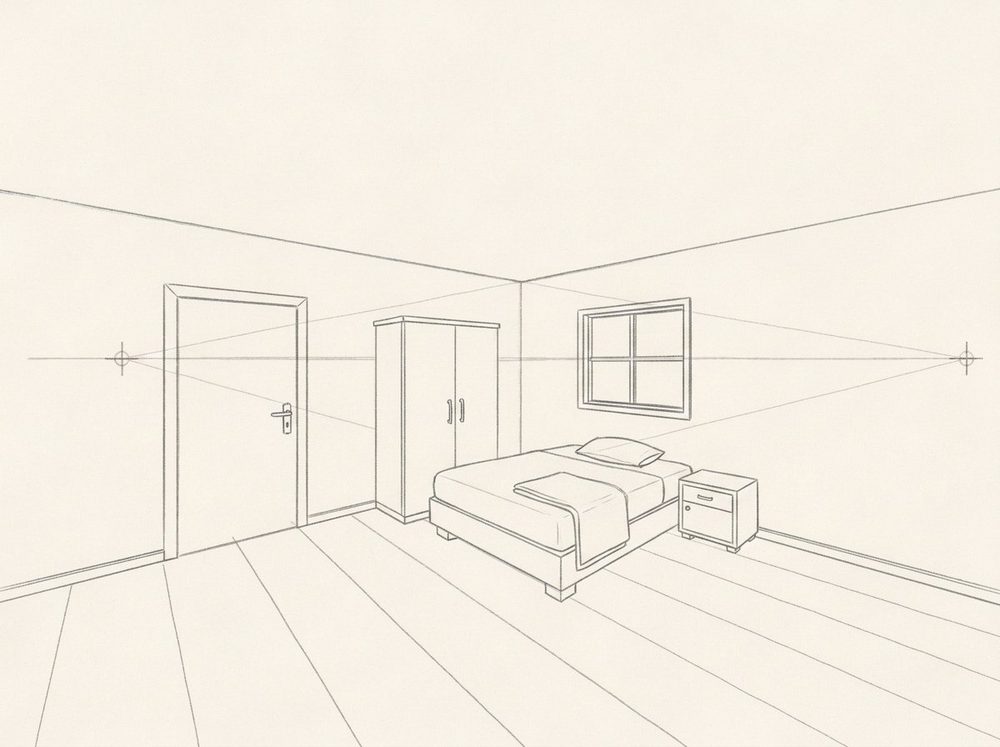
- Go over every line firmly, keeping every corner where it is.
- Give the wardrobe two doors and handles, the bed a pillow and a folded blanket, the cabinet a drawer.
- Add a thin skirting board along the base of both walls.
- From here on, the shading
Steps 5 to 7 are where the drawing turns solid: light shadows first, then the shadow shapes and the tones. Their names, pencils and tips are below; the picture of each Step is in Lapis, full screen next to your paper.
Try Lapis free for 7 days Step 5Light Shadows2H
One even, light tone over everything the light doesn't reach directly.
The picture for this Step is in the Lapis app.- Tone the right wall, the shaded side of the wardrobe and the shadows under the bed and night table.
- One pale tone everywhere; the darker Steps come next.
Technique: Light lines
Step 6Shadow Shapes2B
Inside that light tone, the darker shapes: the core shadow and the cast shadow.
The picture for this Step is in the Lapis app.- Daylight comes in through the window: the left wall faces it and stays light.
- The wall around the window is in soft shadow.
- Furniture sides turned away from the window take one flat tone; each piece casts a soft shadow on the floor away from it.
Step 7Value Map2B–4B
The drawing sorted into a few flat tones, from the white of the paper to the darkest dark.
The picture for this Step is in the Lapis app.- The window glass is the lightest shape, the left wall light, the right wall mid grey.
- The floor is a little darker than the walls.
- The darkest darks sit right under the bed and the cabinet.
- Your own photo next?The Shading Planner turns any photo into the same three shading Steps (light shadows, shadow shapes, value map) with a pencil for each tone. Open the Shading Planner
Lapis is an iPhone app that sits beside your paper and shows each Step full screen, with tips, a Pencil Grade and an optional Grid. You draw freehand; one tap to the next Step.
This Lesson is part of Lapis Pro, with 7 days free.
Get Lapis on the App Store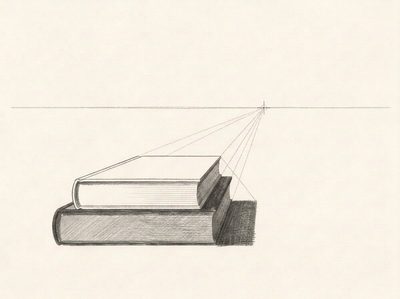 How to draw books in one-point perspective
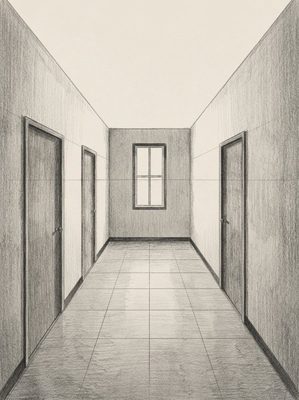 How to draw a hallway in one-point perspective
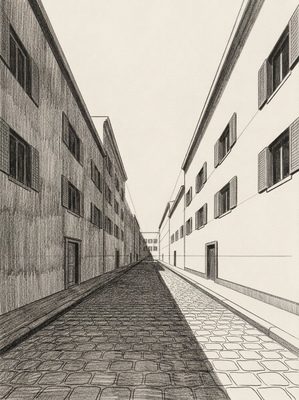 How to draw a street in one-point perspective